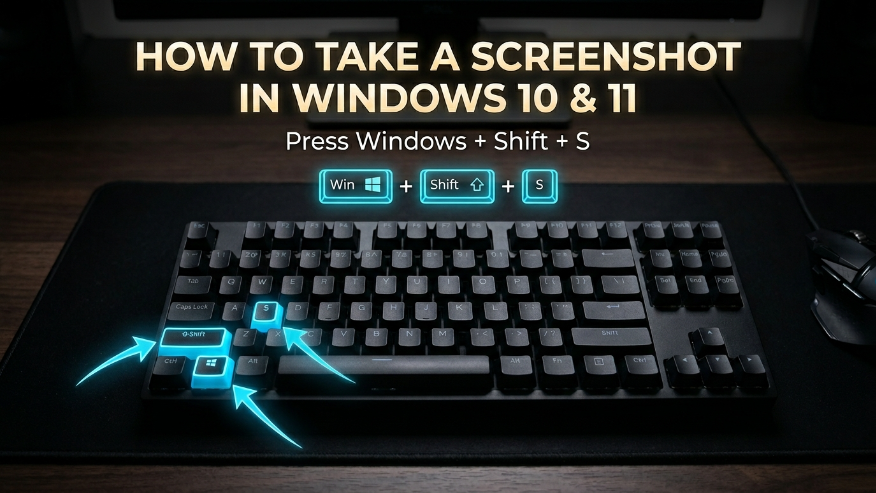
If you’re a Windows user looking to capture your screen on Windows 10 or 11, you’ve come to the right place. We’re going to show you the easiest keyboard shortcuts to take a screenshot instantly. Whether you’re using a laptop or desktop from Dell, HP, Microsoft, Alienware, Framework, or Razer, these methods work across the board.
Capture Selected Screen Area
How to Take a Screenshot Using Snipping Tool
If you’re having any trouble using keyboard shortcuts to take a screenshot, you can always open the Snipping Tool manually. To capture your screen this way, just follow these simple steps:
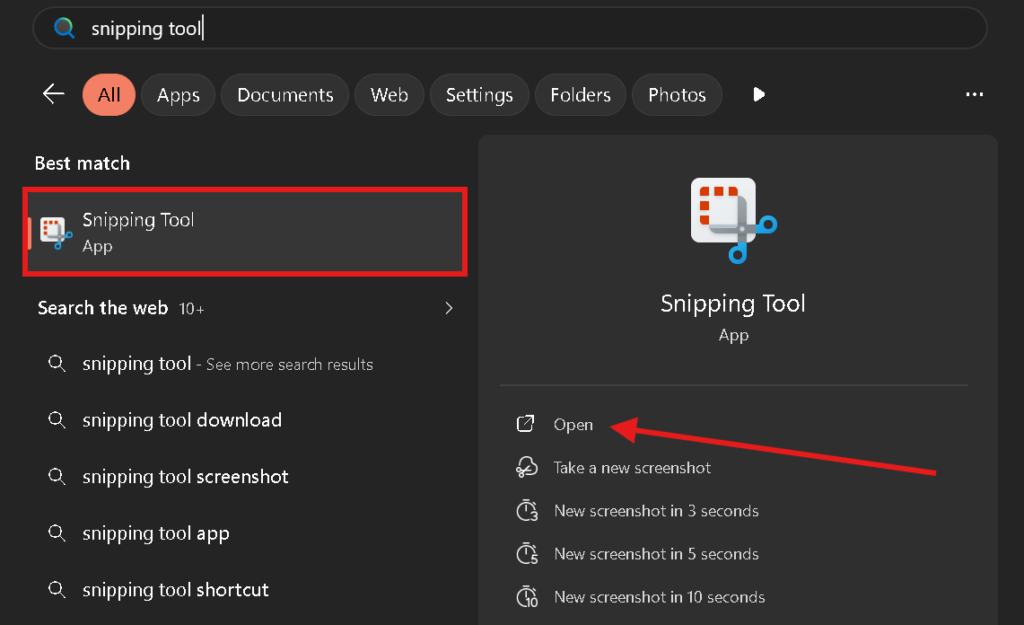
- First, press the Windows key and type Snipping Tool into the search bar. Once the application appears in the results, simply click to open it.
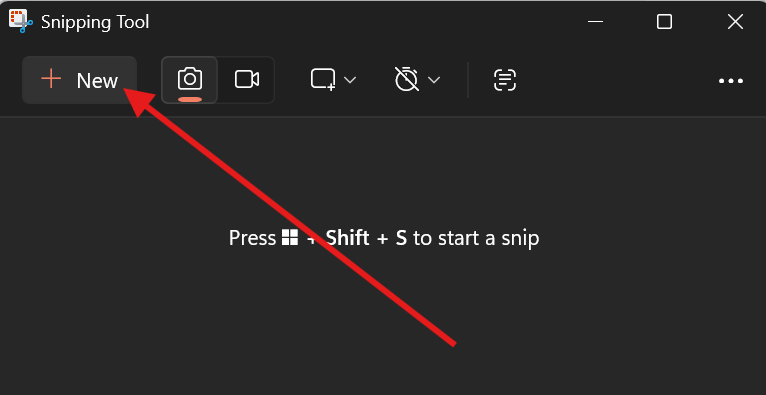
- Once the Snipping Tool window pops up, click the New button. Your screen will dim, letting you click and drag to select the exact area you want to capture.
Once you’ve finished those steps, your selected area will be captured instantly. All that’s left is to save the screenshot to your PC for later use.
Snipping Tool Features & Modes
When you press Win + Shift + S to take a screenshot, a small menu pops up at the top of your screen—this is the Snipping Tool. It offers several different modes, giving you the flexibility to capture exactly what you need, whether it’s the entire screen or just a specific section.
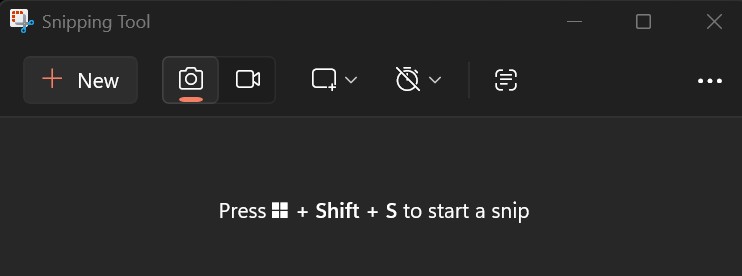
- New: Clicking this will slightly dim your screen, indicating it’s ready for a capture. Once you select the area you want, the screenshot is automatically saved to your PC.
- Camera Icon: This is your go-to for static images. It allows you to capture a specific section, an active window, or your entire desktop.
- Video Icon: This mode lets you record your screen. Any clips you capture will be saved as high-quality MP4 files.
- Rectangle / Capture Mode: This section offers four distinct ways to frame your screenshot:
- Rectangular Snip: Perfect for grabbing a specific square or rectangular area.
- Window Snip: Use this to capture just one specific open window without including the rest of your desktop.
- Full Screen Snip: Instantly captures everything currently visible on your monitor.
- Freeform Snip: This gives you total creative control—you can use your mouse to draw any custom shape and turn it into a screenshot.
How to Edit and Annotate Your Screenshots
Windows comes with a built-in editing feature that lets you customize your screenshots exactly how you want. It’s perfect for highlighting specific areas or adding notes on the fly. To get started, here are the different tools available for editing your captures:
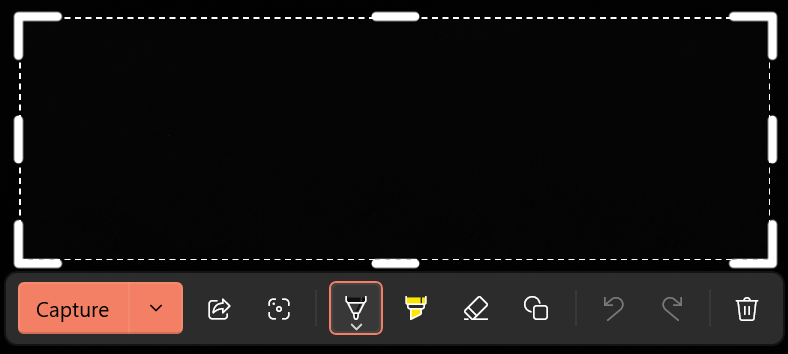
- Capture: By clicking the arrow next to “Capture,” you can choose to save your screenshot directly to your PC or copy it to your clipboard for quick pasting.
- Share: This option lets you send your screenshot directly via email or share it across various social media platforms instantly.
- Crop: Use this tool to trim your image and remove any unwanted edges or clutter from your screenshot.
- Ballpoint Pen: This is perfect for freehand drawing, circling specific details, or underlining important information on your capture.
- Highlighter: Just like a physical highlighter, this tool allows you to emphasize text or specific sections of your image without obscuring them.
- Eraser: If you make a mistake while drawing, the eraser functions just like a digital rubber to wipe away any markings you’ve added.
- Shapes / Drawing Tool: This feature allows you to insert clean, professional-looking shapes like circles, rectangles, and arrows into your screenshot.
- Undo: If you make an error, this lets you step back one move to correct your last action.
- Redo: If you accidentally deleted a drawing or change, use this to bring it right back.
- Delete: If the screenshot didn’t turn out right, you can simply click this to discard it immediately.
How to View Your Screenshots on a Laptop or PC
If you captured a screenshot using the methods mentioned above, you can find it right in your PC’s File Explorer. Every screenshot you take is automatically saved into a dedicated “Screenshots” folder, where you can view, move, or use your images whenever you need them.
To view your captured screenshots, start by opening This PC on your PC. From there, navigate to the Pictures folder, where you’ll find a subfolder specifically named Screenshots. Just click to open it, and every screenshot you’ve ever saved on your computer will be right there, ready for you to use.
PrtSc (Print Screen) key not working?
If the PrtSc key isn’t working on your laptop, there is a hidden setting in Windows 10 and Windows 11 that you can enable to fix this issue. Just follow the steps below.
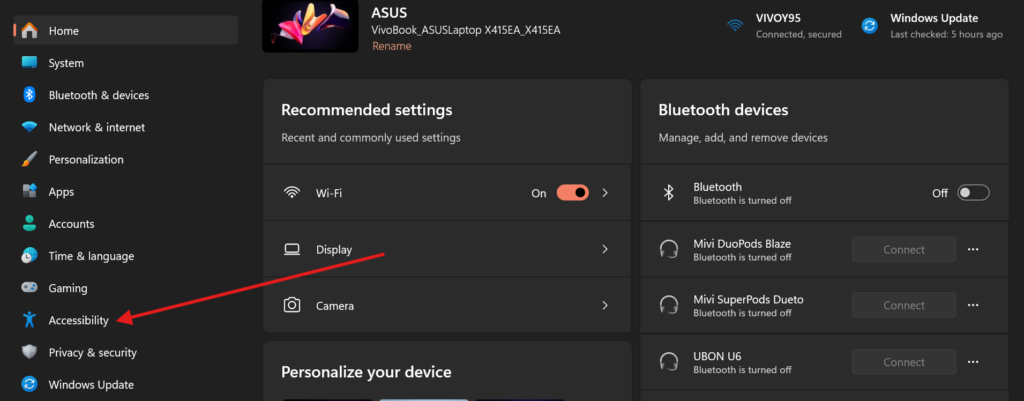
- First, open the Settings on your computer and click on Accessibility.
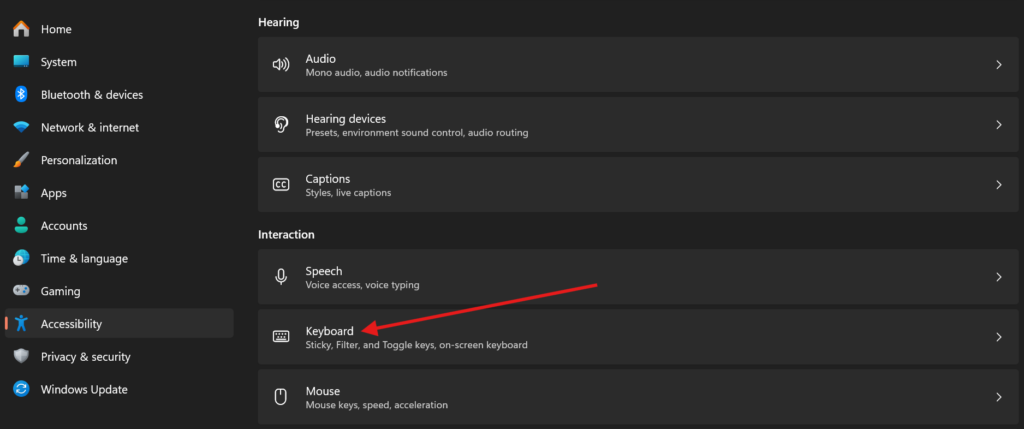
- Once you are in the Accessibility menu, scroll down and click on Keyboard.
- You will see several different settings; click on the Keyboard device option.
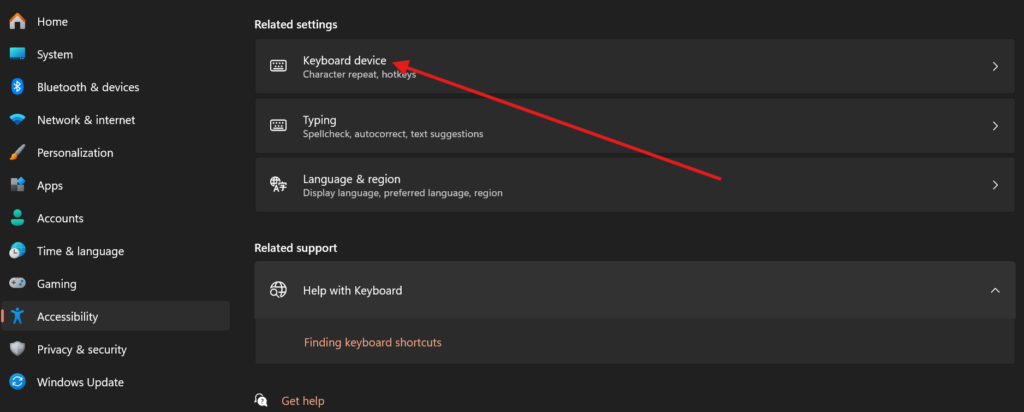
- Now, look for the option that says “Use the Print Screen key to open screen capture” and toggle it on.
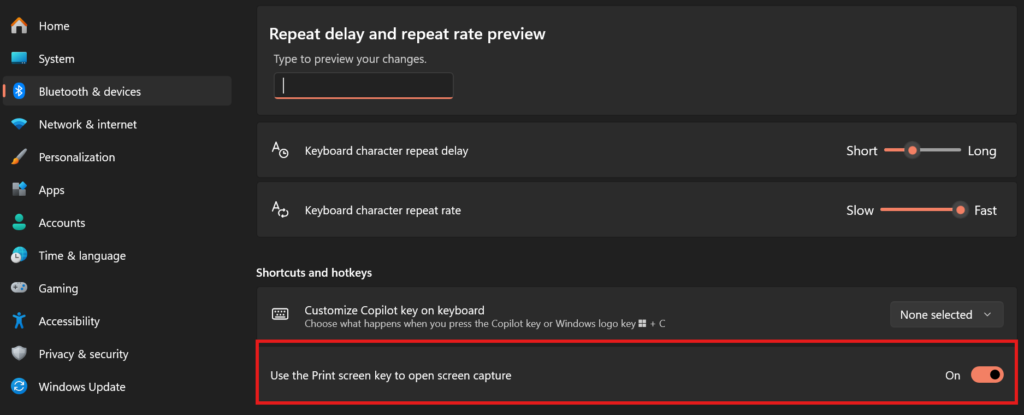
Once you enable this feature, you no longer need to press Win + Shift + S to take a screenshot. Simply pressing the PrtSc key will open the Snipping Tool menu, allowing you to capture your screen easily.
Windows Screenshot Keyboard Shortcuts
| Action | Shortcut |
|---|---|
| Full Screen Capture | PrtScn (Print Screen) |
| Active Window Capture | Alt + PrtScn |
| Selected Area Capture | Windows + Shift + S |
| Auto Save Full Screen | Windows + PrtScn |
| Game Bar Screenshot | Windows + Alt + PrtScn |
| Open Snipping Tool | Windows + Shift + S |
| Screen Recording (Game Bar) | Windows + Alt + R |
| Open Game Bar | Windows + G |
| Copy to Clipboard Only | PrtScn / Alt + PrtScn |
- How to Screenshot on Mac
- How to Screenshot on Android
- How to Screenshot on iPhone
- How to Screenshot on Chromebook
- How to Screenshot on Android Linux
By default, Windows uses Win + Shift + S as the standard shortcut. However, you can make the PrtSc (Print Screen) key your dedicated shortcut by going to Settings > Accessibility > Keyboard and toggling on the option that says “Use the Print Screen key to open screen capture.”
The quickest way is to press Win + Shift + S. This opens the Snipping Tool overlay at the top of your screen, allowing you to choose between a rectangular, freeform, window, or full-screen capture. Once captured, the image is saved to your clipboard and your Pictures > Screenshots folder.
The process is identical to Windows 11. Use the Win + Shift + S shortcut for the Snipping Tool, or press Win + PrtSc to instantly capture your entire screen and save it directly to your Screenshots folder in the Pictures directory.
If your PrtSc key is broken or unresponsive, you can still take a screenshot by manually opening the Snipping Tool from the Start menu. You can also use the Win + Shift + S keyboard combination, which functions independently of the Print Screen key settings.
If you are seeing references to Cmd + Shift + 3 or 4 on a Windows guide, those are actually macOS shortcuts and will not work on Windows 10 or 11. To capture your screen instantly on a Windows PC or laptop (including Dell, HP, and Razer), you must use the standard Windows shortcut: Win + Shift + S. This opens the built-in Snipping Tool overlay, letting you select a custom area, record video, or capture a specific window.