Whether you are using a MacBook Air, MacBook Pro, or an iMac, capturing your screen on an Apple device is incredibly simple. Just like on Windows, you can use keyboard shortcuts to take exactly the kind of screenshot you need. Simply use the following commands:
Capture Entire Screen
Mac Keyboard Shortcuts
You can use various commands to take screenshots on a Mac depending on your needs. Each command offers different features:
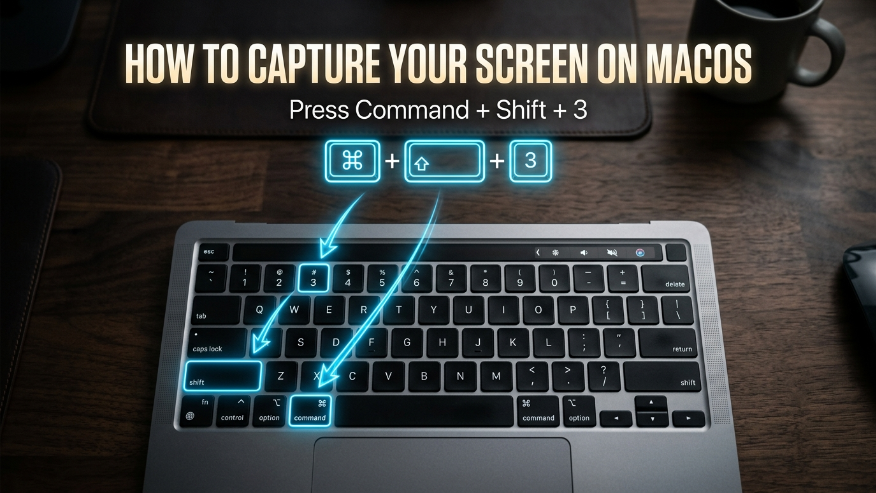
- CMD + Shift + 3: Captures the entire screen and saves it to your desktop.
- CMD + Shift + 4: Allows you to select a specific area of the screen by dragging your mouse.
- CMD + Shift + 4 + Space: Lets you capture a specific folder or browser window without including the background.
Screenshot Toolbar
When you press Cmd + Shift + 5, the Screenshot Toolbar will open. It functions similarly to the Snipping Tool in Windows and offers the following features:

- Capture Entire Screen: Use this to take a screenshot of your full screen.
- Capture Selected Window: This allows you to take a screenshot of a specific app window.
- Capture Selected Portion: Use this to capture a screenshot of a specific area you select on the screen.
- Record Entire Screen: This lets you record a video of your entire screen.
- Options Menu: Here, you can choose whether to save your screenshot to the desktop, send it via email, or select other destinations.
Mac Markup Tool
When you capture a screenshot on a Mac, a thumbnail will appear in the corner. Clicking on it opens the Markup Tool, where you’ll find the following features:

- Sketch / Draw: Used for free-hand drawing; you can use your mouse or trackpad to write or draw anything manually.
- Shapes: This allows you to add various shapes to your screenshot. Available options include:
- Rectangle
- Circle
- Arrow
- Line
- Speech Bubble
- Text Tool: Click this to type and add any text directly onto your screenshot.
- Highlight: Use this tool to mark or highlight specific parts of the image.
- Signature: This feature lets you create and add a digital signature to your screenshot.
- Line Icon: Allows you to change the thickness and style of your shapes or lines.
- Fill Color: Use this to fill the inside of a shape with your preferred color.
- Text Style: This lets you customize the font, size, color, and alignment of your text.
Where are screenshots saved on a Mac?
Many users often wonder where their screenshots are stored. By default, when you take a screenshot on a Mac, the file is saved directly to your Desktop. The file will be named in the following format: Screenshot [Date] at [Time].png.
Note: If you don’t want to save the screenshot to your desktop and would rather just copy it to your clipboard, hold down the Control key while taking the shot. This way, the file won’t be saved—it will only be copied.
Usefull Key for Mac
| Action | Shortcut |
|---|---|
| Full Screen | Cmd + Shift + 3 |
| Selected Portion | Cmd + Shift + 4 |
| Advanced Menu (Snipping) | Cmd + Shift + 5 |
| Recording | Cmd + Shift + 5 |
- How to Screenshot on Window
- How to Screenshot on Android
- How to Screenshot on iPhone
- How to Screenshot on Chromebook
- How to Screenshot on Android Linux
To capture your entire screen, simply press Command + Shift + 3. The image will be saved automatically to your desktop. If you want to open the full menu for more options, press Command + Shift + 5.
You can “crop” while capturing by pressing Command + Shift + 4. This turns your cursor into a crosshair, allowing you to drag and select only the specific portion of the screen you want to capture. Alternatively, you can click the thumbnail that appears after taking a screenshot to use the Markup Tool to crop or edit the image.
Press Command + Shift + 4, then hit the Spacebar. Your cursor will turn into a camera icon. Simply click on the window or folder you want to capture, and it will take a clean screenshot of just that window.
By default, all screenshots are saved to your Desktop with a name like “Screenshot [Date] at [Time].png.” If you’d rather copy the image to your clipboard instead of saving it, hold the Control key while performing any screenshot shortcut.